


Creating QR codes using the 2amigos/qrcode-library is as easy as instantiating a new object in PHP. Generally speaking, all we need to do is:
1<?php
2// ...
3$qrCode = new QrCode(“Pretty new QR Code with 2amigos/qrcode-library”);
4// ...
5?>
6
7<!-- displays qrcode as an image -->
8<img src="<?= $qrCode->writeDataUri(); ?>"/>
In this post, we’ll explore the available settings and formats for this library, using Laravel to enhance our experience.
Let’s start by creating a new Laravel project:
1$ composer create-project laravel/laravel 2am-qrcode
2$ cd 2am-qrcode
Then, install the 2amigos/qrcode-library library:
1$ composer require 2amigos/qrcode-library:^3.0Before putting this library to work, let's create a controller and define the route where our samples will live:
1$ php artisan make:controller QrCodeControllerIt will create a new controller under app/Http/Controllers, named QrCodeController.php.
On ./routes/web.php, substitute the file content for the given code:
1<?php
2
3use Illuminate\Support\Facades\Route;
4use App\Http\Controllers\QrCodeController;
5
6Route::name('qrcode')->group(function() {
7    Route::get('/', [QrCodeController::class, 'index']);
8});
Now we can finally put our hands on the library itself and start building some QR Codes! On our QrCodeController, create the following function:
1<?php
2namespace App\Http\Controllers;
3
4use Da\QrCode\QrCode;
5
6class Controller {
7    // ....
8    public function index()
9    {
10        $text = new QrCode('2am. technologies');
11
12        return view('qrcode.index', [
13            // set variable to be accessible through the view
14            // you can define other qrcode variables we’ll be creating on this array
15            'text' => $text,
16        ]);
17    }
18    // ...
19}
The function above creates a new QR Code with simple text on it, as we did right at the beginning of this post.
With the function created, we’re missing only our view to be able to view our first QR Code.
Create a file named index.blade.php under ./resources/views/qrcode with the code below:
1<!DOCTYPE html>
2<html lang="{{ str_replace('_', '-', app()->getLocale()) }}">
3<head>
4    <meta charset="utf-8">
5    <meta name="viewport" content="width=device-width, initial-scale=1">
6
7    <title>{{env('APP_NAME')}}</title>
8    <!-- Fonts -->
9    <link rel="pre-connect" href="https://fonts.bunny.net">
10    <link href="https://fonts.bunny.net/css?family=figtree:400,600&display=swap" rel="stylesheet" />
11    <link href="https://cdn.jsdelivr.net/npm/[email protected]/dist/css/bootstrap.min.css" rel="stylesheet" integrity="sha384-EVSTQN3/azprG1Anm3QDgpJLIm9Nao0Yz1ztcQTwFspd3yD65VohhpuuCOmLASjC" crossorigin="anonymous">
12<style>
13		html, body {
14			background: #191a1f;
15		}
16
17		.card {
18			background: #4d4f5e;
19			border: 1px solid #80839a;
20			color: #eee;
21		}
22
23		a, b, .card-title {
24			color: #fff;
25		}
26
27		p {
28			color: #eee;
29		}
30
31		a:hover {
32			color: #ddd;
33		}
34	</style>
35
36</head>
37<body>
38    <div class="container mt-5">
39       <div class="row">
40            <div class="card col-4">
41                <div class="card-body">
42                    <h5 class="card-title"> Text </h5>
43                   <img src="<?= $text->writeDataUri(); ?>"/>
44                </div>
45            </div>
46
47<!-- you can place other cards here for the other samples we’ll create following the sample above -->
48
49       </div>
50    </div>
51</body>
52</html>
There it is, we have just created the first QR Code with 2amigos/qrcode-library. Running the following command will publish the application to http://127.0.0.1:8000. Accessing it will display your brand-new QR Code.
1$ php artisan serve
Digging deeper into the library, we can start exploring its functions and QR Code formats other than text.
Label
First of all, we can enhance the first example by setting a label for it. To achieve this, we must import the class Da\QrCode\Label. Check the example:
1<?php
2
3use Da\QrCode\Label;
4use Da\QrCode\Contracts\LabelInterface;
5
6$text->setLabel(new Label(
7    text: '2am.tech',
8    font: null,
9    fontSize: 14,
10    align: LabelInterface::ALIGN_RIGHT
11));
On the code above we’re using the function setLabel to define a label to our generated QR Code. It receives one unique parameter, being a string or a Label object. If you define a string, the label will use the default configuration: centered, the font will be noto_sans, size 16.
Logo
There is a function setLogo to add a logo to your QR Code.
You can use the setLogoWidth function to adjust its size. Ideally, your logo size should be up to 16% of your QR Code width (rounded down). Add an image to ./public/assets/logo.png.
1<?php
2$text->setSize(300)
3     ->setLogo(public_path('assets/logo.png'))
4     ->setLogoWidth(48);
You can change the background and foreground color by using the functions setBackgroundColor and setForegroundColor, setting RGB values as parameters:
1<?php
2$text
3    ->setForegroundColor(
4        red: 1,
5        green: 149,
6        blue: 240,
7    )
8    ->setBackgroundColor(
9        red: 199,
10        green: 210,
11        blue: 220,
12    );
It’s strongly recommended to have the foreground color darker than the background color, keeping a reasonable contrast between the colors to make it possible for the readers to detect the barcode.

Format Writers
Though the default format for generated QR Code images is png, you can easily change it by setting the writer. You can achieve it by setting the writer right on the constructor or by using the method setWriter().
1<?php
2use Da\QrCode\Writer\JpgWriter;
3// …
4$text = new QrCode(text: '2am. Technologies', writer: new JpgWriter());
5// or
6$text = (new QrCode('2am. Technologies'))
7       ->setWriter(new JpgWriter());
The available formats are:
- PngWriter (default)
- JpgWriter
- SvgWriter
- EpsWriter
Saving Qr Code File and Resource Routes
You can easily save the file by using the method writeFile (pathname).
1<?php
2// ...
3$text->writeFile(storage_path('app/public/text.jpg'));
To use it on a resource route, you must specify the content type and use the writeString() function.
1<?php
2use Da\QrCode\QrCode;
3
4$qrCode = new QrCode('https://2am.tech');
5
6header('Content-Type: ' . $qrCode->getContentType());
7
8$qrCode->writeString();
We can easily create a resource route on Laravel. Update our ./routes/web.php to have the following:
1<?php
2Route::name('qrcode')->group(function() {
3    Route::get('/', [QrCodeController::class, 'index']);
4    Route::get('/resource/{content}', [QrCodeController::class, 'resource']);
5});
Then, on our QrCodeController, add the method below:
1<?php
2
3class QrCodeController {
4    //...
5
6    public function resource(string $text)
7    {
8        $qrCode = new QrCode($text);
9
10        return response($qrCode->writeString())
11            ->withHeaders([
12                'Content-Type' => $qrCode->getContentType()
13            ]);
14    }
15
16    // ...
17}
This code creates a route where we can pass a text as an attribute, then it renders a simple text QR Code. Accessing http://127.0.0.1:8000/resource/2am.Techonologies results with the following:

QR Code Formats
With the available methods covered, we can move one step forward and dive into some of the available QR formats.
To see the full list of available formats, check the library docs - https://qrcode-library.readthedocs.io/en/latest/
To create a QR Code with a specific format, you must create a new format and then pass it to the QrCode constructor instead of a text string. Each format has its own specific required parameters and attributes.
BookMark Format
The bookmark format allows you to encode a URI with a title to your QR Code.
1<?php
2use Da\QrCode\Format\BookMarkFormat;
3
4
5$bookMarkFormat = new BookMarkFormat([
6            'title' => '2am. technologies',
7            'url' => 'https://2am.tech',
8        ]);
9$bookMark = new QrCode($bookMarkFormat);
10
11return view('qrcode.index', [
12      'bookMark' => $bookMark,
13
14];
On your ./resources/qrcode/index.blade.php
1<div class="card col-4">
2     <div class="card-body">
3            <h5 class="card-title"> BookMark </h5>
4            <img src="<?= $bookMark->writeDataUri(); ?>"/>
5      </div>
6</div>
ICal Format
The ICal format allows you to create an appointment/event to the calendar.
1<?php
2use Da\QrCode\Format\ICalFormat;
3
4$iCalFormat = new ICalFormat([
5            'summary' => 'test-summary',
6            'startTimestamp' => 1260232200,
7            'endTimestamp' => 1260318600
8        ]);
9$iCal = new QrCode($iCalFormat);
10
11return view('qrcode.index', [
12
13           'iCal' => $iCal,
14];
On your ./resources/qrcode/index.blade.php
1…
2<div class="card col-4">
3     <div class="card-body">
4            <h5 class="card-title"> ICal</h5>
5            <img src="<?= $iCal->writeDataUri(); ?>"/>
6      </div>
7</div>
8…
MeCard Format
This format helps share contact information.
1<?php
2use Da\QrCode\Format\MeCardFormat;
3
4$meCardFormat = new MeCardFormat();
5$meCardFormat->firstName = 'Antonio';
6$meCardFormat->lastName = 'Ramirez';
7$meCardFormat->sound = 'docomotaro';
8$meCardFormat->phone = '657657XXX';
9$meCardFormat->videoPhone = '657657XXX';
10$meCardFormat->email = '[email protected]';
11$meCardFormat->note = 'test-note';
12$meCardFormat->birthday = '19791201';
13$meCardFormat->address = 'test-address';
14$meCardFormat->url = 'http://2am.tech';
15$meCardFormat->nickName = 'tonydspaniard';
16$meCard = new QrCode($meCardFormat);
17
18return view('qrcode.index', [
19    // ... other parameters
20    'meCard' => $meCard,
21]);
Then on your ./resources/qrcode/index.blade.php
1<div class="card col-4">
2     <div class="card-body">
3            <h5 class="card-title"> MeCard </h5>
4            <img src="<?= $meCard->writeDataUri(); ?>"/>
5      </div>
6</div>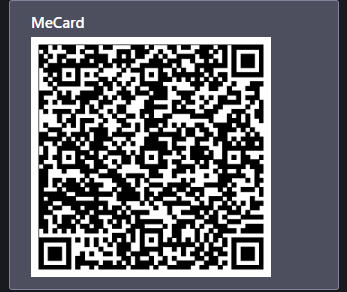
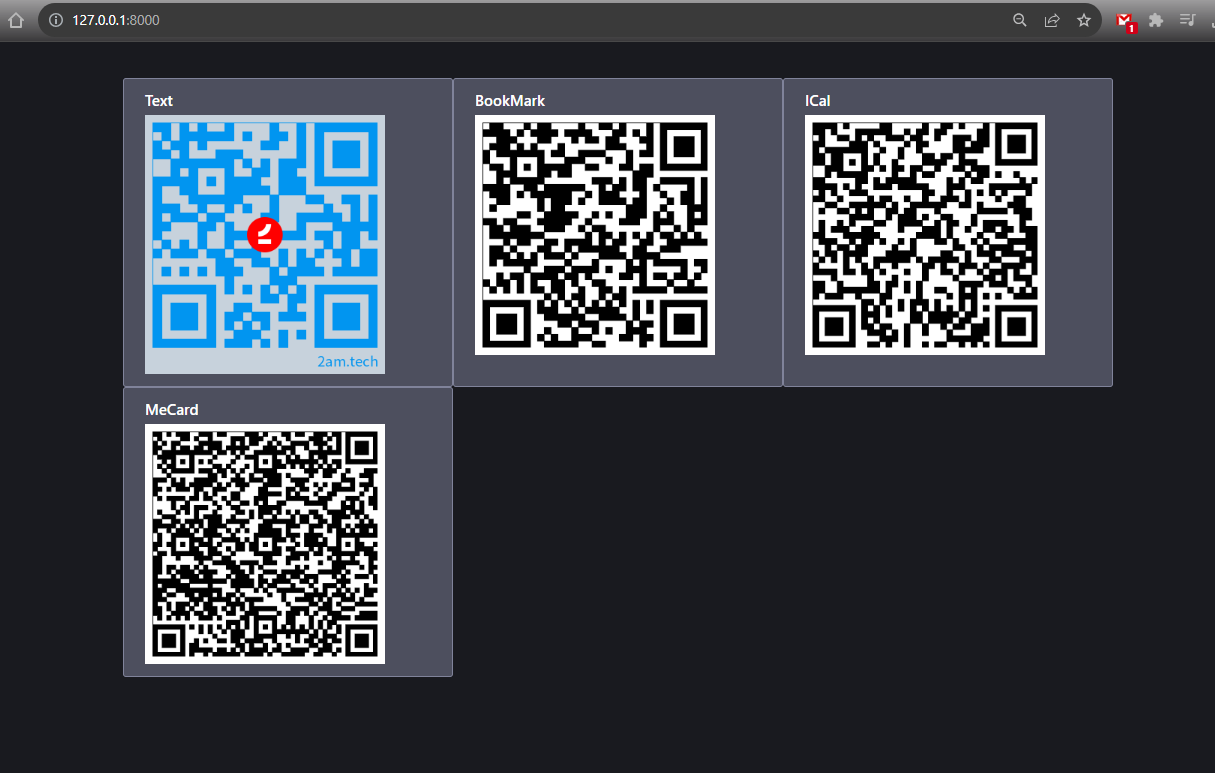
Finally, here are all the QR Codes we generated using 2amigos/qrcode-library and Laravel:
Demo
Want to see these samples and all other formats in place? You can find them on our demo repository.
Accelerate Your Career with 2am.tech
Join our team and collaborate with top tech professionals on cutting-edge projects, shaping the future of software development with your creativity and expertise.
Open Positions